

You open a campervan sink installation kit and see a stainless bowl, a faucet, a pump, clear tubing...
Rumah / Berita / Berita Industri / A Complete Campervan Sink Installation Kit Guide: Parts, Fit, and Leaks
You open a campervan sink installation kit and see a stainless bowl, a faucet, a pump, clear tubing, hose clamps, a drain fitting, and a tube of sealant. The box looks complete. Then you measure your counter and realize the sink cutout is 20 mm wider than the cabinet frame, or the pump needs a 12 V feed you have not run yet. A kit only works when its parts match your van, your water supply, and your electrical system. The practical approach is to treat the kit as a system, not a collection of parts, and to plan the fit before you cut anything.
This guide covers what a typical campervan sink installation kit contains, how to compare sink formats, the installation sequence that prevents leaks, and the mistakes that cost the most time in a van build.
A useful kit covers four jobs: holding the sink, delivering water, draining water, and sealing the openings. The exact contents vary by seller and price, so check the list before ordering.
Some kits leave out the pump or the drain parts because the builder is expected to have a water system already. If the kit is for a gravity-fed setup, it may not include a pump at all. Check whether the tubing is marked as potable water safe. Check the faucet thread size, because a mismatch with the sink hole can stop the build until an adapter arrives.
The sink material matters more than most buyers expect. A 304 stainless steel bowl resists rust in a damp van, but thin gauge steel can flex when you tighten the drain. A bowl around 0.8 mm to 1.2 mm thick is common for campervan use. If you want a ready-made rectangular bowl with a glass cover, this campervan sink option is built for caravan and motorhome counters:
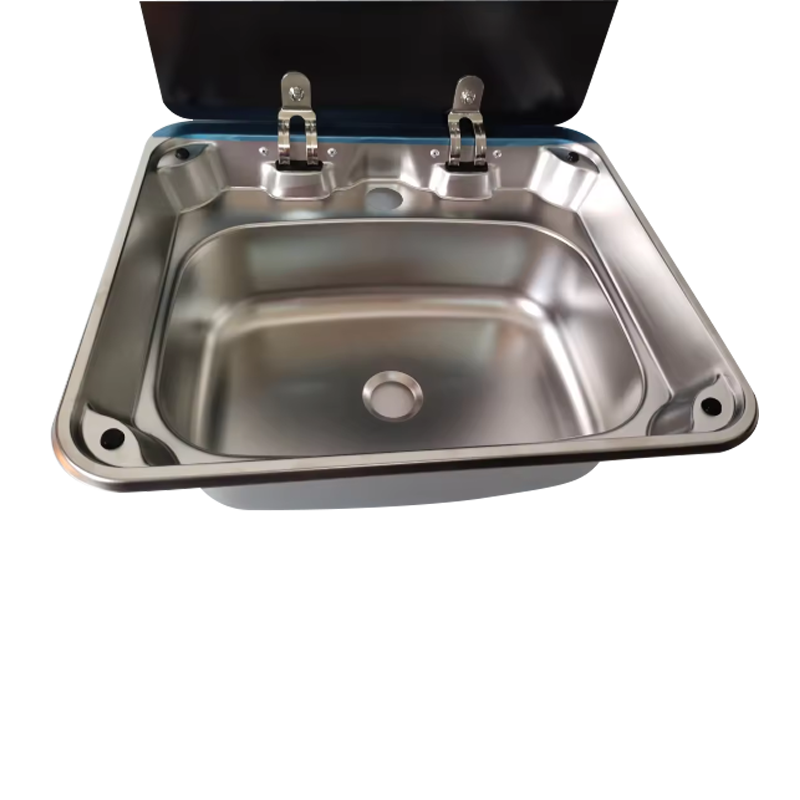 304 Stainless Steel Single Bowl With Glass Rectangular Caravan Rv Motorhome SinkMaterial: stainless steel $tempered glass Overall size: 470mm*430mm*210mm Thickness: 0.8mm Accessories Surface treatment: Passivate, polished Use for: RV Caravan Motor...View Product →
Before you buy the kit, measure three things: the countertop depth, the cabinet opening below, and the height available for the faucet. A deep bowl can hit the drawer or the water tank below. A tall faucet can block a cabinet door or a bed platform. A glass cover needs clearance to open and latch.
| Sink format | Typical cutout | Best for | Watch out for |
|---|---|---|---|
| Round hand basin | 280 mm to 350 mm diameter | Small galleys and simple hand washing | Limited bowl area and more splashing |
| Rectangular single bowl | 380 x 280 mm to 450 x 350 mm | Dishes, cooking prep, and general use | Counter substrate depth and drain position |
| Sink and stove combo | Varies by burner count | Compact kitchens with shared counter space | Gas line clearance and heat shielding |
If your counter has a curved edge or a narrow rail, a round basin can fit where a rectangle cannot. A round 304 stainless steel basin like this one is often used in vans, boats, and small homes:
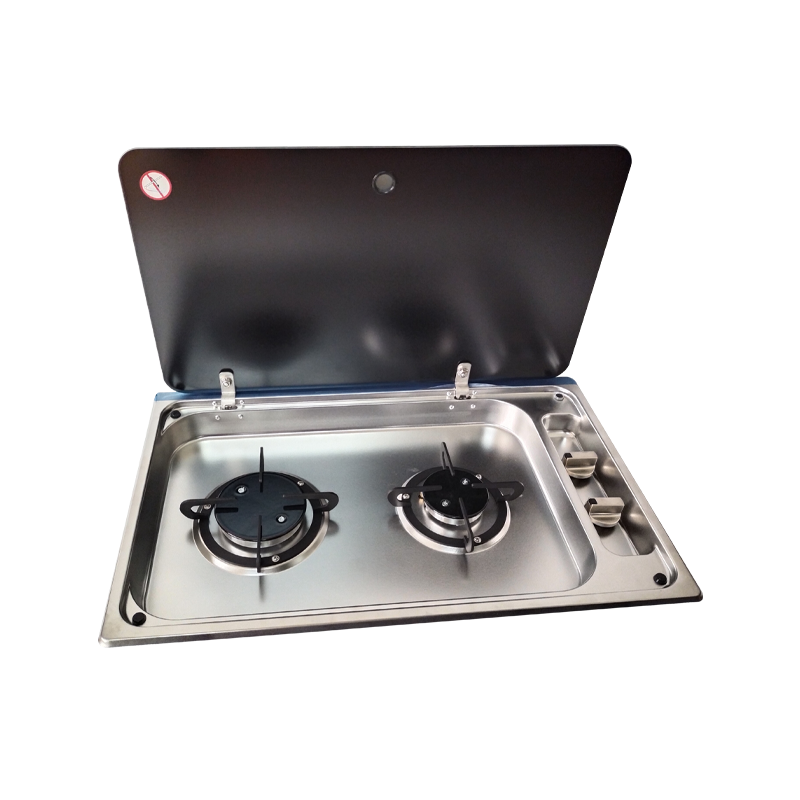 Stainless Steel RV Sink ManufacturerStainless Steel Two Burner Gas Stove With Safety Glass Lid For Rv Camping Caravan MotorhomeView Product →
If you cook inside the van, a combined sink and stove unit can save counter space, but it also changes the installation sequence. The gas connection must be leak-tested before the sink drain is connected, and the heat shield must not touch the water tubing.
Leaks in a campervan sink usually come from three places: the drain seal, the faucet base, and the tubing joints. The installation order below reduces the chance of rework.
Decide where the fresh water tank, pump, and waste tank will sit before you cut the counter. Keep the pump close to the tank and use a strainer on the inlet. Route the drain hose with a continuous fall to the waste tank or outlet. If you want to understand how water reaches an RV sink, this article explains the supply path: what supplies water to an RV sink.
Tape the template to the counter and mark the cutout. Drill a starter hole at a corner, then cut with a jigsaw or a router. Test the sink in the opening before applying sealant. The rim should sit flat, and the mounting clips should reach the underside of the counter without forcing.
Fit the faucet to the sink before you drop the sink into the counter. Use the rubber or fiber washer supplied with the faucet, and tighten it by hand plus a quarter turn. For the drain, apply a thin bead of sealant under the drain flange, not a thick layer that squeezes into the bowl. Tighten the drain nut evenly.
If the pump runs continuously, the pressure switch may be set too high, or there may be a leak on the suction side. If the faucet sputters, the tank may be low or the suction line may be drawing air.
For compact builds, a one-burner gas stove and sink unit can combine two functions, but it must be installed with the gas connection tested first and the water lines kept away from hot surfaces. This stainless steel 304 one-burner gas stove and sink is designed for RV, caravan, motorhome, boat, and yacht kitchens:
Use this checklist before you pay for a kit. It saves return shipping and weeks of waiting for a missing adapter.
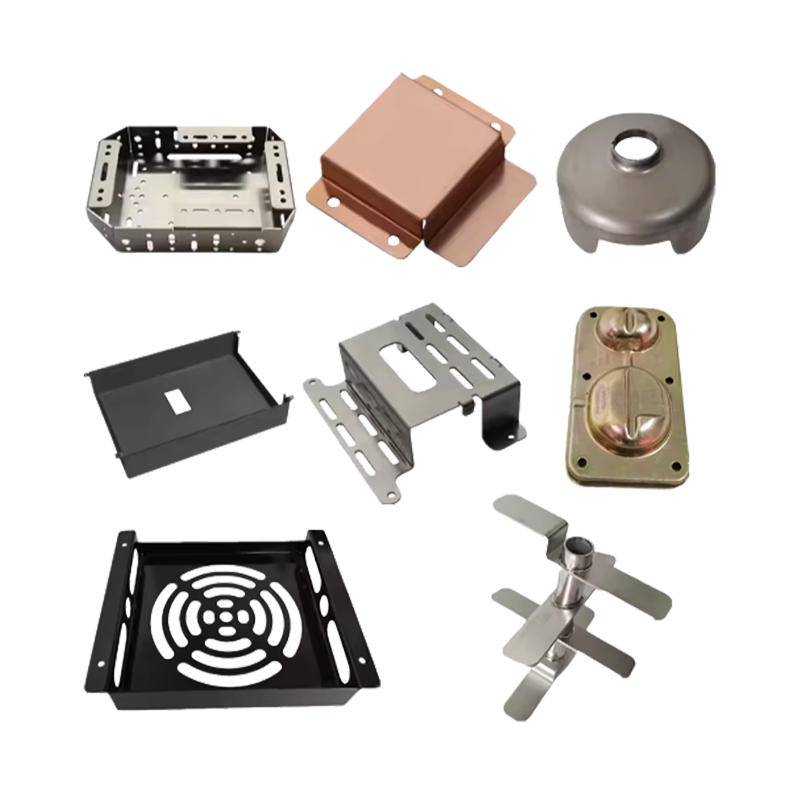
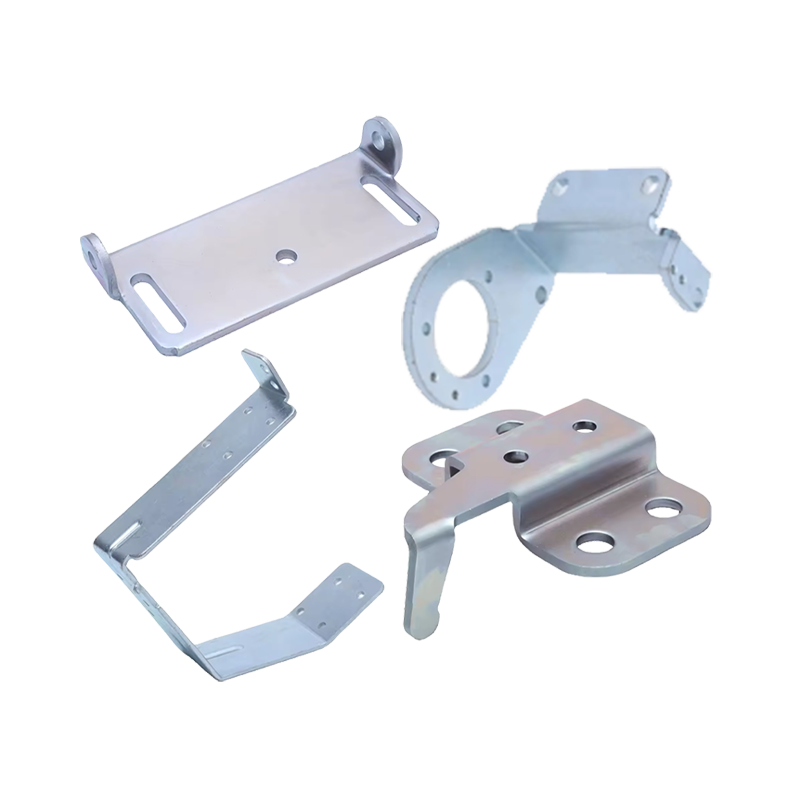
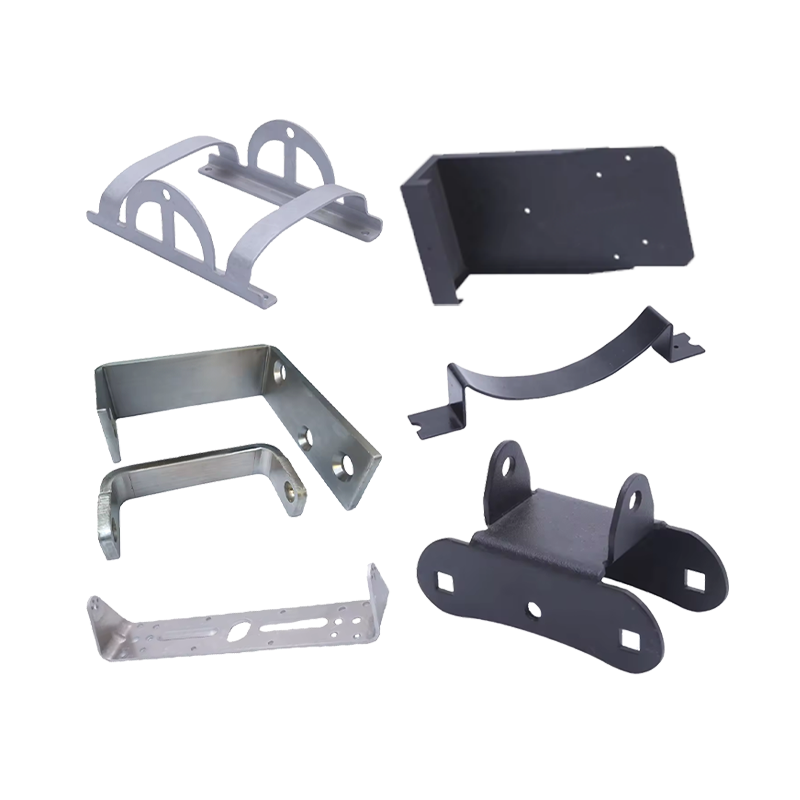
If you are building more than one van or need a custom metal part, a manufacturer that controls stamping, deep drawing, bending, and welding can produce brackets, trays, and sink components to your drawing. That reduces the risk of a kit that almost fits.
A campervan sink installation kit is only as good as its fit. Measure the counter, check the water and power routes, dry fit the bowl, and test every joint before you close the cabinet. When the kit includes the right sink format, the correct tubing, and a drain that seals, the installation becomes a straightforward afternoon task instead of a leak hunt. Choose the kit for your van layout first, then add the custom parts you need to finish the job cleanly.
Sama ada anda ingin menjadi rakan kongsi kami atau memerlukan bimbingan atau sokongan profesional kami dalam pemilihan produk dan penyelesaian masalah, pakar kami sentiasa bersedia untuk membantu dalam masa 12 jam di seluruh dunia
hubungi Kami
Phone:+86 139-5824-9488
FAX :+86 574-86150176
E-mail: [email protected] [email protected]
Address: Unit 2, Bangunan 19, Taman Zhichuangzhizao, Zon Perindustrian Chengdong, Xiangshan, Ningbo,315705, Zhejiang, China
You open a campervan sink installation kit and see a stainless bowl, a faucet, a pump, clear tubing...
A two-bike carrier clamped to the A-frame of a caravan looks like a ten-minute job, and often it is...
A 200 W panel lying flat on a motorhome roof weighs almost nothing while the vehicle is parked. At ...
